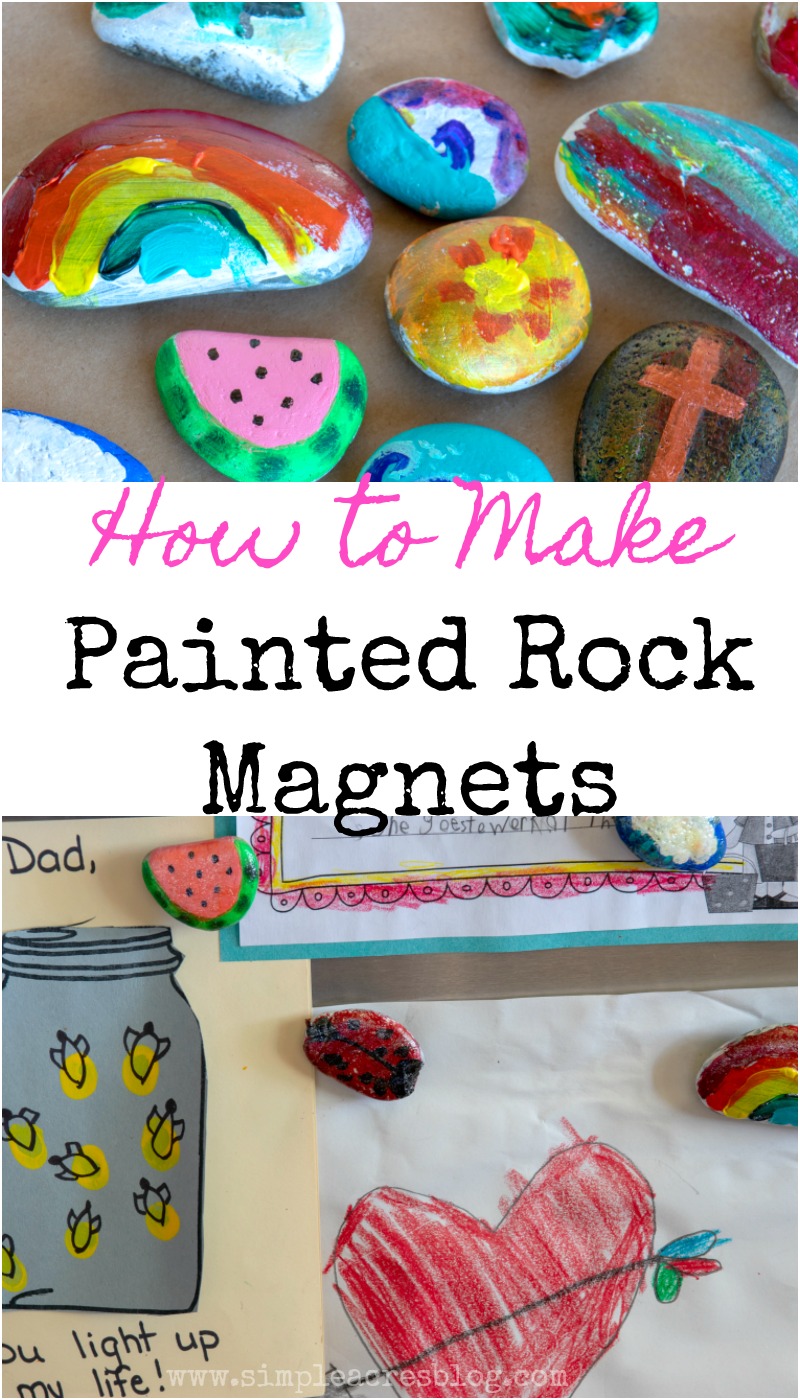
Who needs a really simple and frugal craft to do with kids? I am always looking for ways to encourage creativity with my little ones. We made painted rocks recently and I was surprised how much fun they had collecting their rocks and making their own designs. Let me show you how make painted rocks into magnets!
This post contains affiliate links.
When I told the kids we were going to make a rock craft they all got so excited! From my 8 and 6 year old boys to my 4 year old daughter…. they all squealed with delight! This craft is a great opportunity to go on a walk with the kids and spend quality time. It can also be a teaching opportunity, giving the kids a set number of rocks to find (teaching them counting) and encouraging certain shapes (of course it depends on the age of your kids). You can treat the finding of rocks part as a scavenger hunt even. Here is a gratitude scavenger hunt you may also like for future fun.
Let’s get started on everything you need for this project:
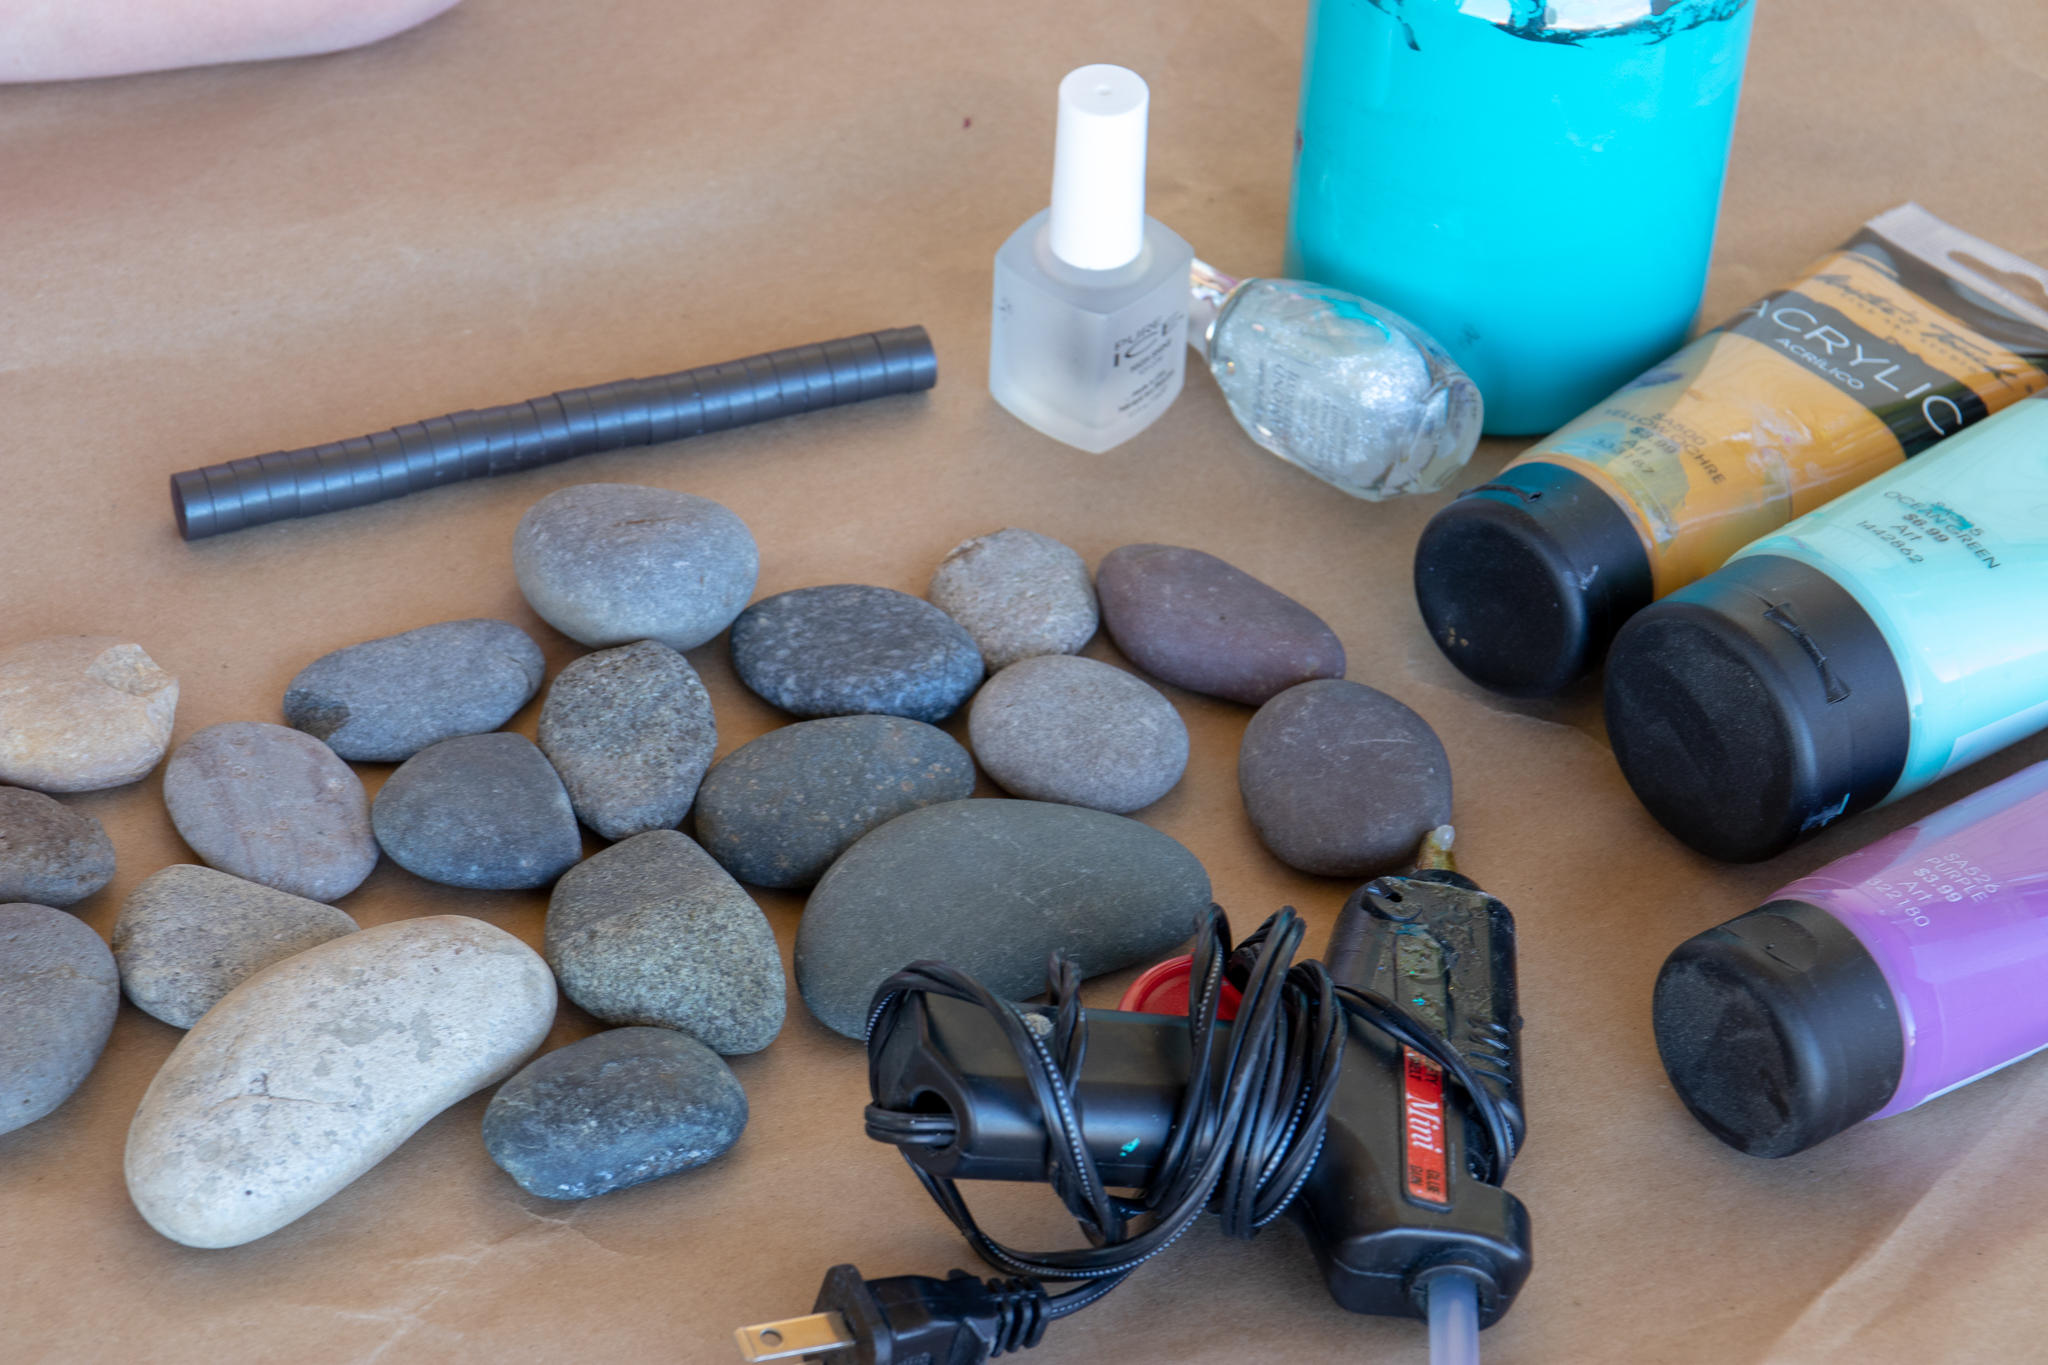
Materials needed to make rock art:
- flat slightly smaller rocks so they are not too heavy
- hot glue gun and glue
- round magnets
- acrylic paint
- clear nail polish
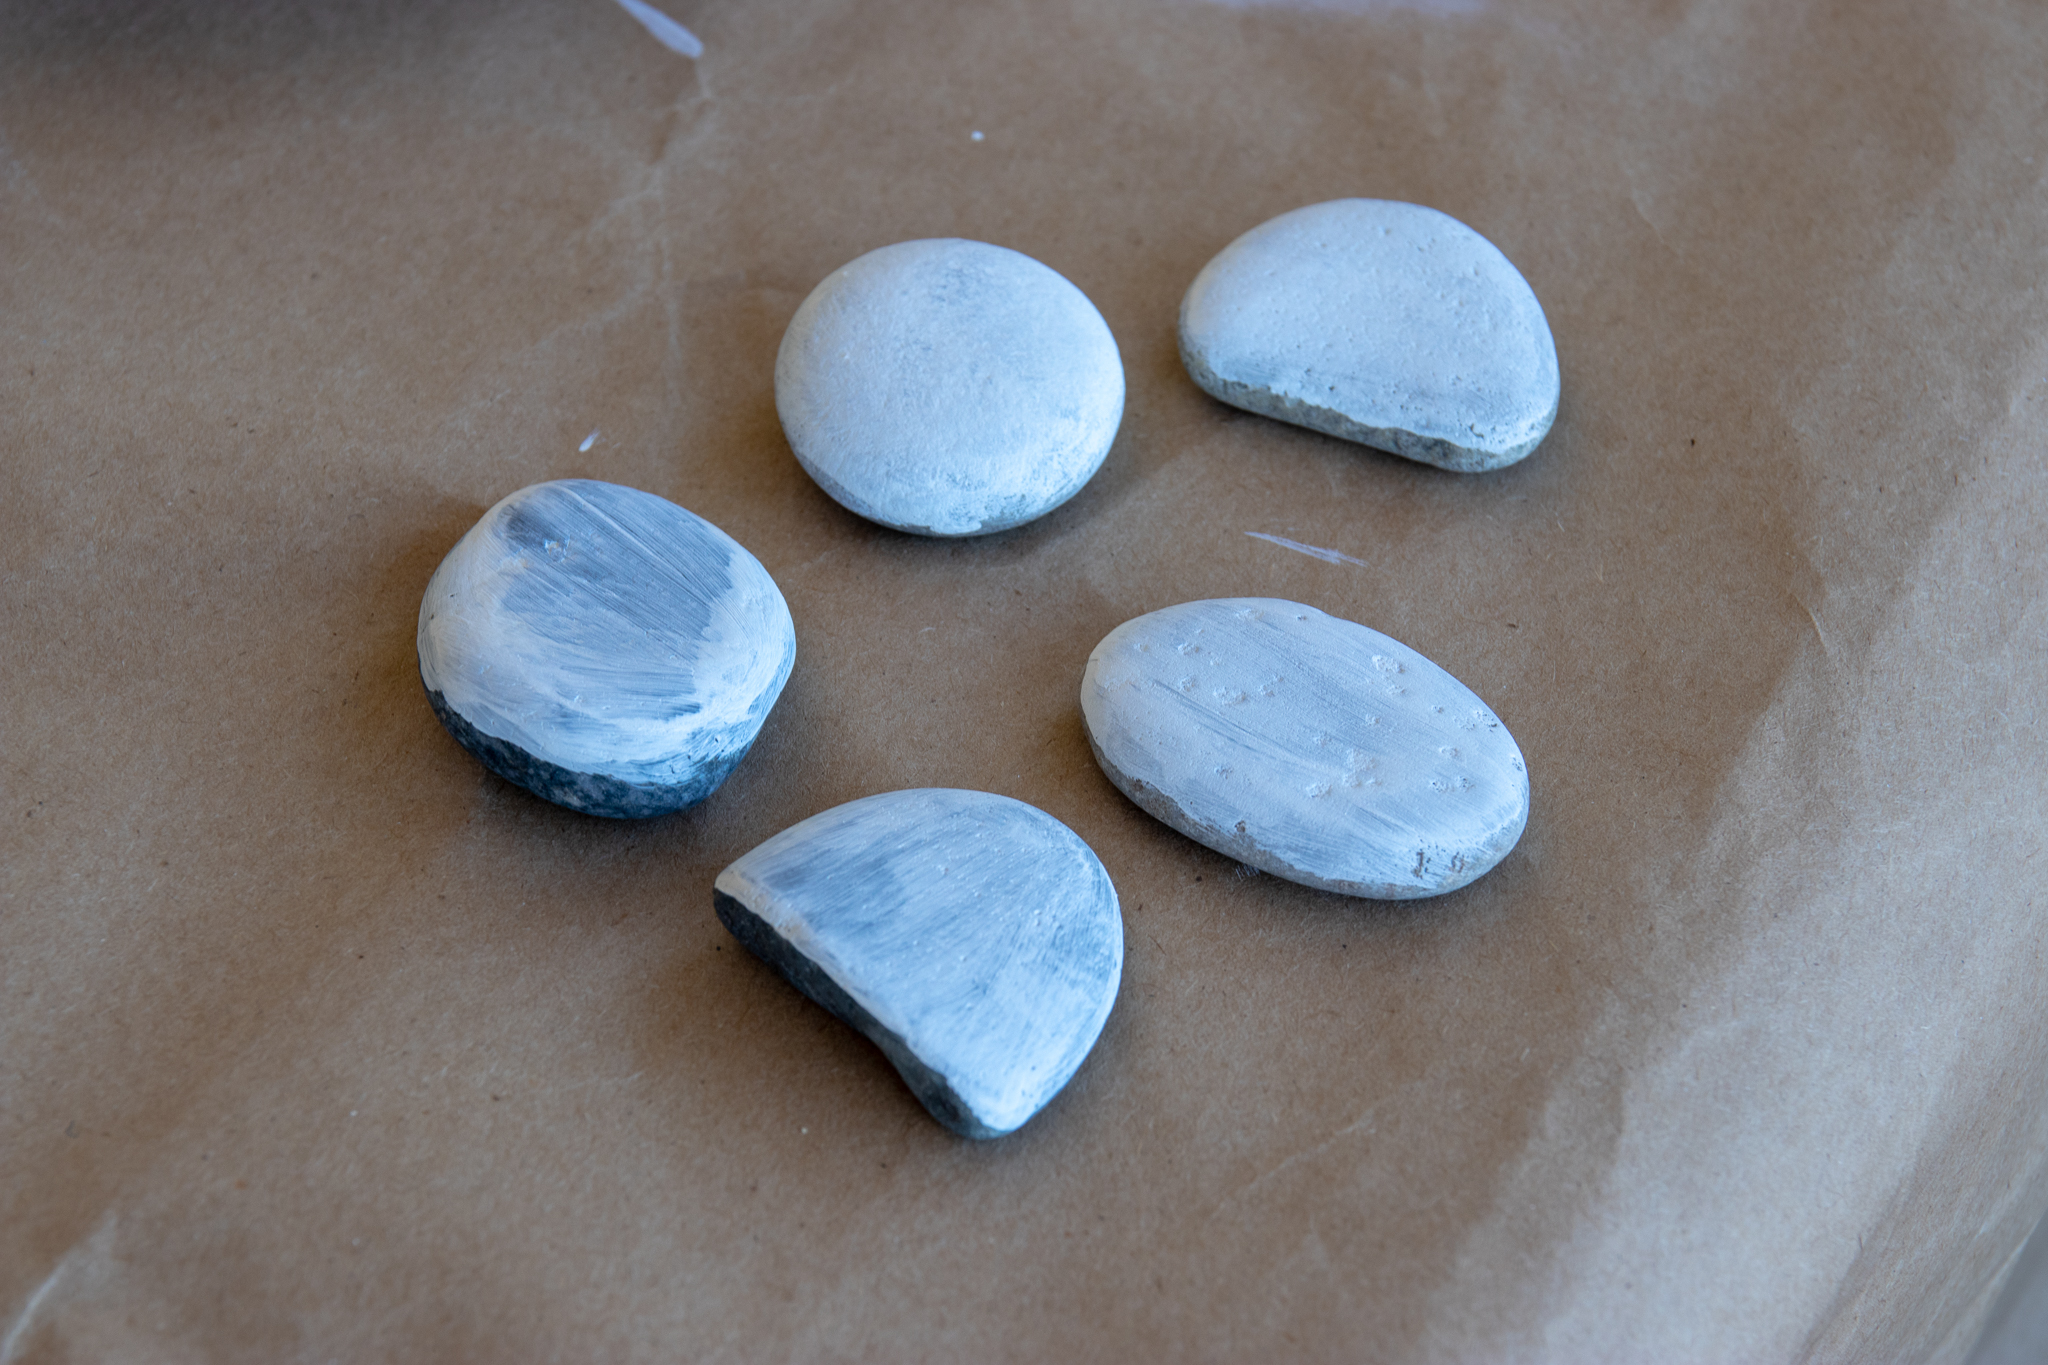
We painted our rocks white first to create a nice “canvas” to our art.
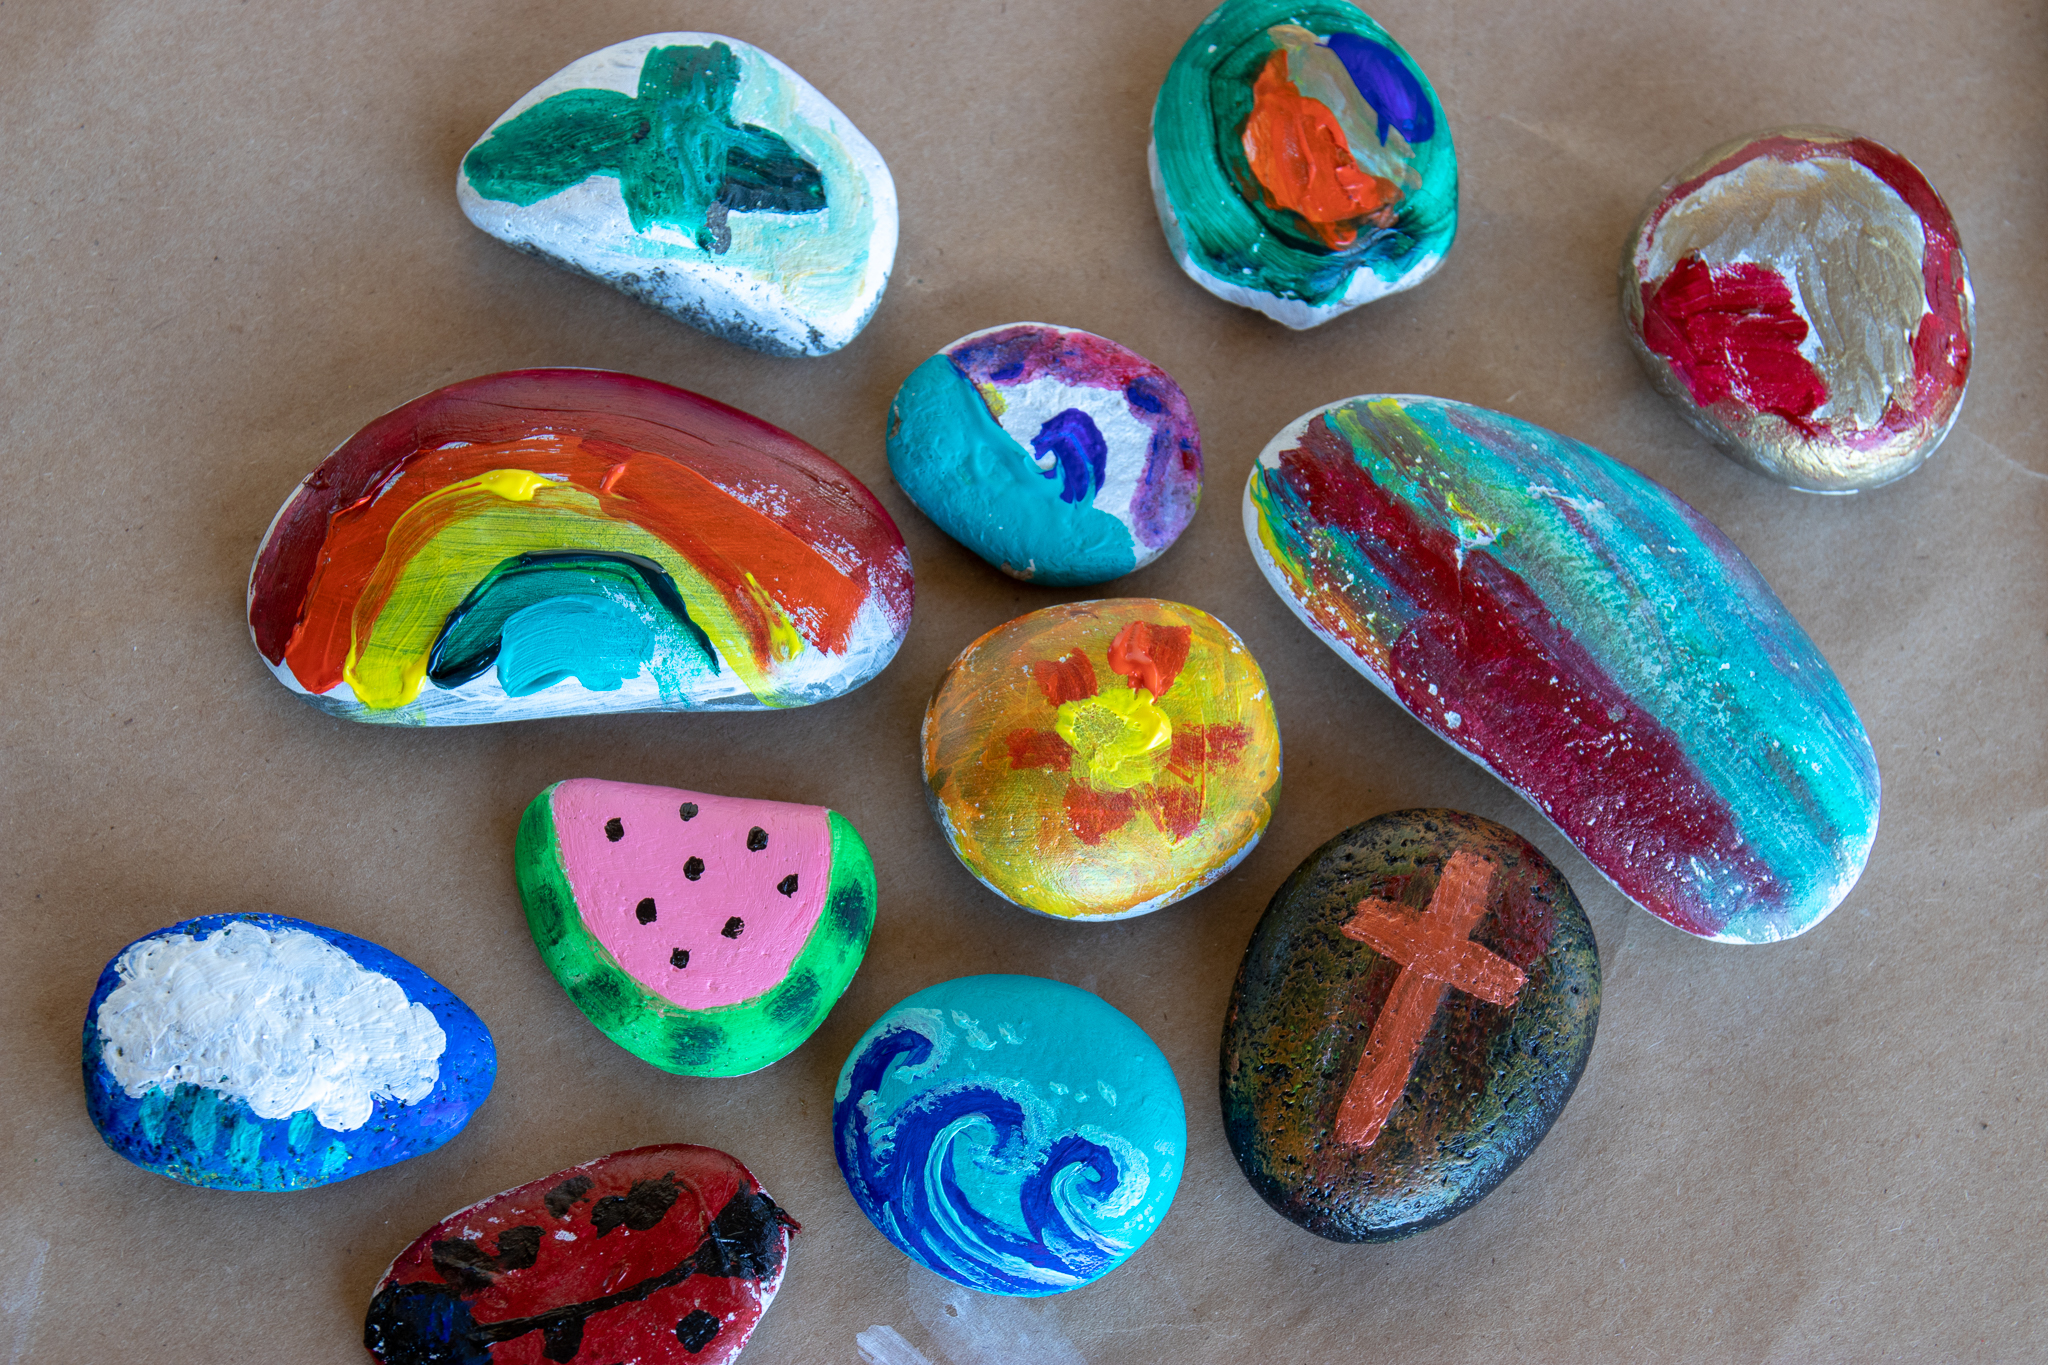
I then let the kids create whatever art their hearts desired. They had so much fun (besides fighting over paint colors ).

Once you are done painting your rocks, let the paint dray and seal them with clear nail polish. Once the polish is dry you can then glue your magnets with hot glue to the back of the rocks. Make sure you are gluing the correct side of the magnet first, by trying them on your refrigerator. After about 15-20 minutes your rock magnets are ready for use!

I hope you enjoyed this simple tutorial on how to paint rocks and create your own painted rock magnets. Dovidenia. XO
For more kids crafts check out these: