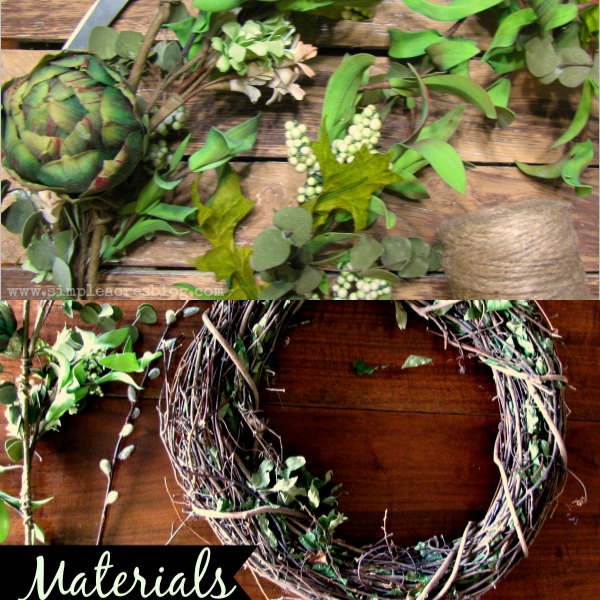
Who CAN NOT wait for Spring? I know i may be jumping the gun but the bits of sunshine and warmer weather we are sensing in my neck of the woods causing cravings for all things fresh, pretty and “springy” ! This Craving inspired to create a quick DIY anyone can make in minutes! Ready for the quickest and most simple spring wreath you have ever made? I knew you were, so here it goes folks! 5 minute Spring wreath here we come!

What I love about this 5 minute Spring wreath more than its simplicity is also how affordable it is to make!

Materials:
- wreath
- spring garland
- twine
- scissors
Directions
1. Cut garland into two pieces measuring each piece to be the length of 1/2 of the wreath.
2. Start attaching the first piece of garland at the center bottom point of the face of the wreath using twine to secure the garland to the wreath.
3.Continue securing the garland piece to the wreath with twine as you work your way to the top center point of the wreath while tying the twine on the back side of the wreath with a simple knot (I used 5 short strands to secure each garland piece.)
4. Once one side is complete, do the same on the other side.
You are now done and officially the fastest wreath maker in town! Yee-haw!
You may also like:


